Installing Oracle Database 19c on Linux 8 (OL8) Server

Step 1 - Install the Relevant Software
Install the Oracle Database 19c Enterprise Edition 19.3.0.0.0 from Oracle Software Delivery Cloud or any other method you prefer.
(If your server has an internet connection you can use the wget method to install the software)
As a best practice create a separate directory named 'SOFTWARES' where you can move installation files.
Step 2 - Add the following lines to the '/etc/sysctl.conf' file as root user.
fs.file-max = 6815744
kernel.sem = 250 32000 100 128
kernel.shmmni = 4096
kernel.shmall = 1073741824
kernel.shmmax = 4398046511104
kernel.panic_on_oops = 1
net.core.rmem_default = 262144
net.core.rmem_max = 4194304
net.core.wmem_default = 262144
net.core.wmem_max = 1048576
net.ipv4.conf.all.rp_filter = 2
net.ipv4.conf.default.rp_filter = 2
fs.aio-max-nr = 1048576
net.ipv4.ip_local_port_range = 9000 65500
Step 3 - Add the following lines to a file called 'etc/security/limits.d/oracle-database-preinstall-19c.conf' file
oracle soft nofile 1024
oracle hard nofile 65536
oracle soft nproc 16384
oracle hard nproc 16384
oracle soft stack 10240
oracle hard stack 32768
oracle hard memlock 134217728
oracle soft memlock 134217728
Step 4 - Install the following packages
dnf install -y bc
dnf install -y binutils
#dnf install -y compat-libcap1
dnf install -y compat-libstdc++-33
#dnf install -y dtrace-modules
#dnf install -y dtrace-modules-headers
#dnf install -y dtrace-modules-provider-headers
#dnf install -y dtrace-utils
dnf install -y elfutils-libelf
dnf install -y elfutils-libelf-devel
dnf install -y fontconfig-devel
dnf install -y glibc
dnf install -y glibc-devel
dnf install -y ksh
dnf install -y libaio
dnf install -y libaio-devel
#dnf install -y libdtrace-ctf-devel
dnf install -y libXrender
dnf install -y libXrender-devel
dnf install -y libX11
dnf install -y libXau
dnf install -y libXi
dnf install -y libXtst
dnf install -y libgcc
dnf install -y librdmacm-devel
dnf install -y libstdc++
dnf install -y libstdc++-devel
dnf install -y libxcb
dnf install -y make
dnf install -y net-tools # Clusterware
dnf install -y nfs-utils # ACFS
dnf install -y python # ACFS
dnf install -y python-configshell # ACFS
dnf install -y python-rtslib # ACFS
dnf install -y python-six # ACFS
dnf install -y targetcli # ACFS
dnf install -y smartmontools
dnf install -y sysstat
Step 5 - Create the following groups and users
groupadd -g 54321 oinstall
groupadd -g 54322 dba
groupadd -g 54323 oper
#groupadd -g 54324 backupdba
#groupadd -g 54325 dgdba
#groupadd -g 54326 kmdba
#groupadd -g 54327 asmdba
#groupadd -g 54328 asmoper
#groupadd -g 54329 asmadmin
#groupadd -g 54330 racdba
useradd -u 54322 -g oinstall -G dba,oper oracle
Step 6 - Set the password for oracle user
[root@testserver-k opc]# passwd oracle
Changing password for user oracle.
New password:
Retype new password:
passwd: all authentication tokens updated successfully.
Step 7 - Set secure Linux to permissive by editing the '/etc/selinux/config' file, making sure the SELINUX flag is set as follows.
[root@testserver-k opc]# vi /etc/selinux/config
SELINUX=permissive
Step 8 - Disable the firewall
[root@testserver-k opc]# systemctl stop firewalld
[root@testserver-k opc]# systemctl disable firewalld
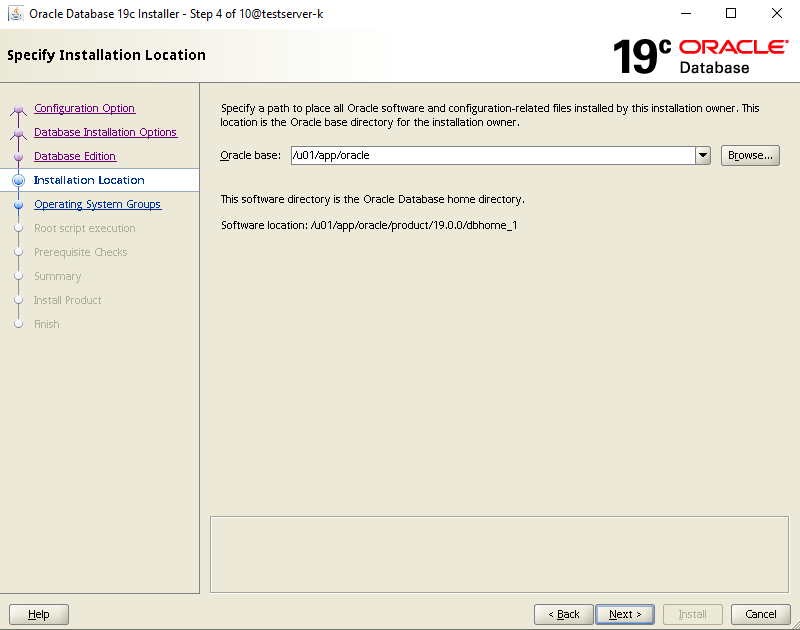
Step 9 - Create the directories in which the Oracle software will be installed.
[root@testserver-k opc]# mkdir -p /u01/app/oracle/product/19.0.0/dbhome_1
[root@testserver-k opc]# chown -R oracle:oinstall /u01
[root@testserver-k opc]# chmod -R 775 /u01
Step 10 - Edit the .bash_profile of the oracle user and enter the following entries. Then restart the .bash_profile
[oracle@testserver-k ~]$ vi ~/.bash_profile
export ORACLE_BASE=/u01/app/oracle
export ORACLE_HOME=$ORACLE_BASE/product/19.0.0/dbhome_1
export PATH=/usr/sbin:/usr/local/bin:$PATH
[oracle@testserver-k ~]$ source ~/.bash_profile
Step 11 - Unzip the zip file as the oracle user in the ORACLE_HOME directory
[oracle@testserver-k ~]$ cd /u01/app/oracle/product/19.0.0/dbhome_1
[oracle@testserver-k dbhome_1]$ unzip -oq /u01/SOFTWARES/<file_name>.zip
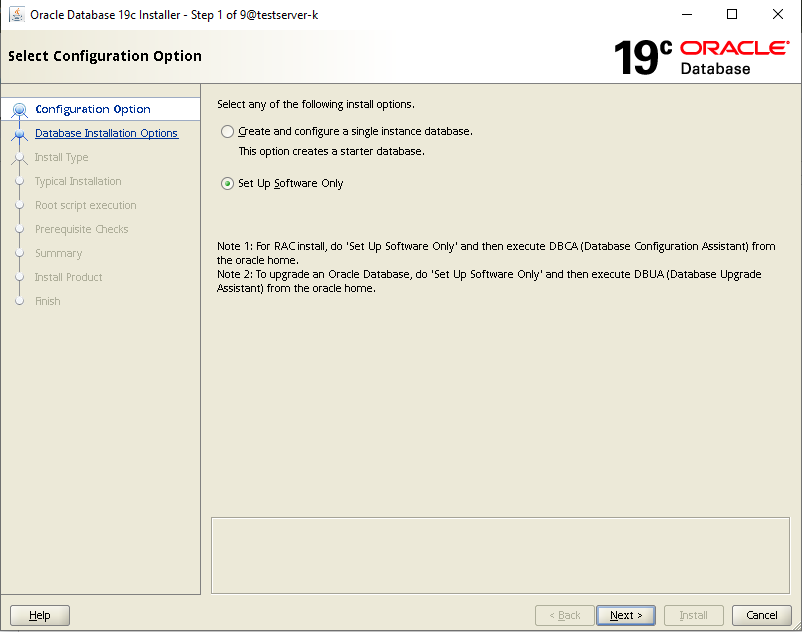
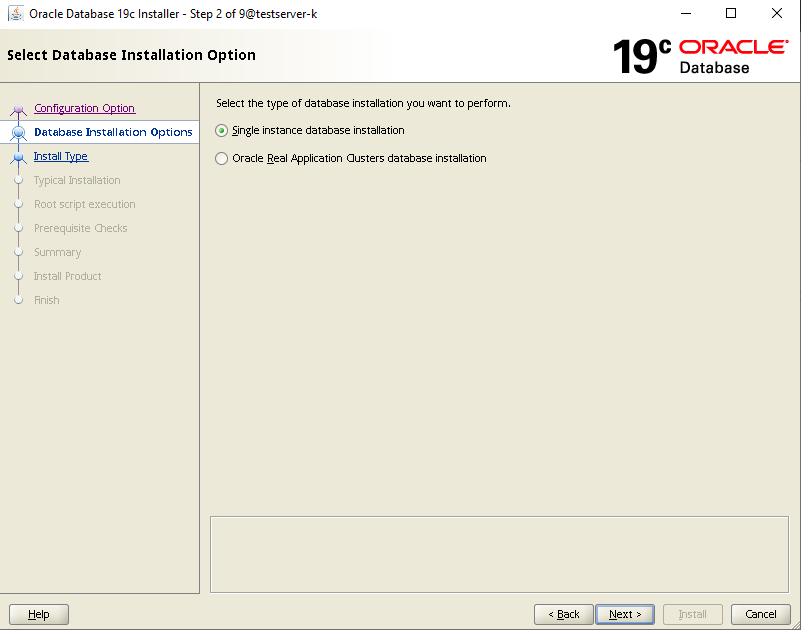
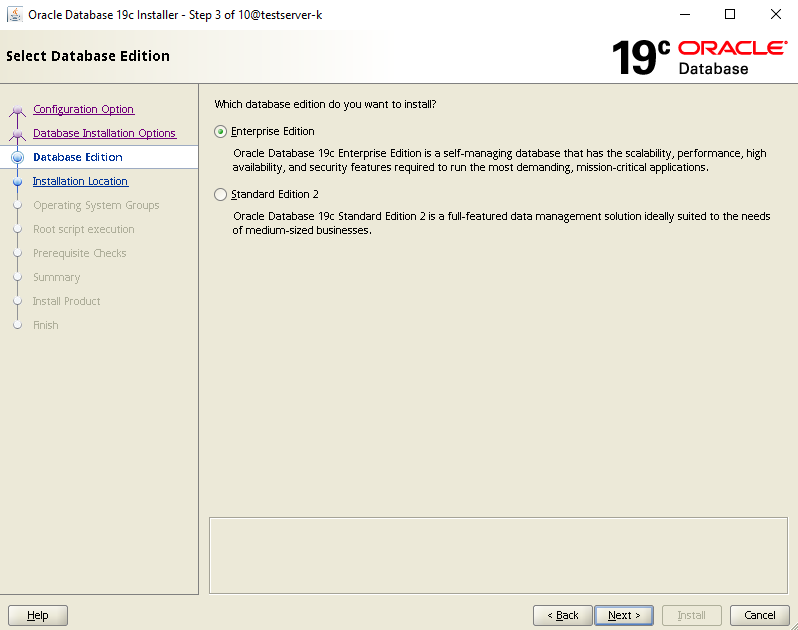
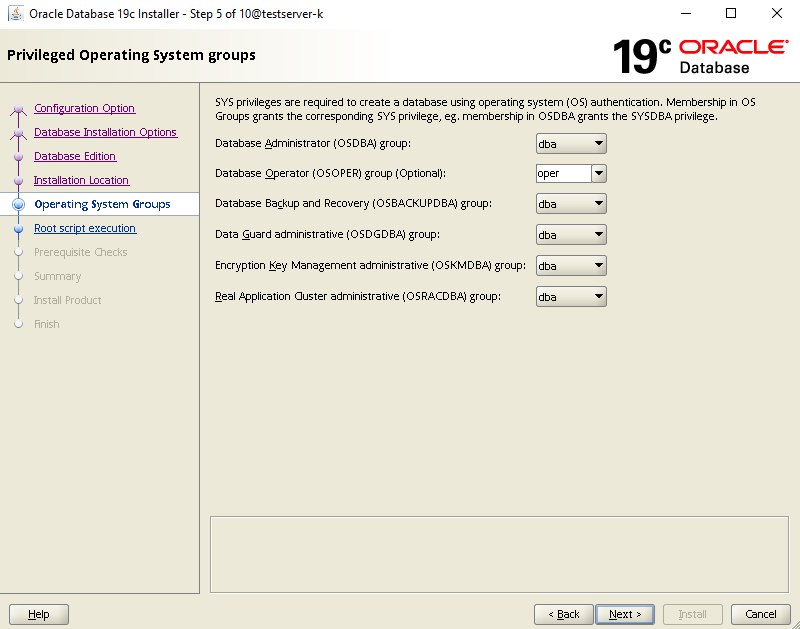
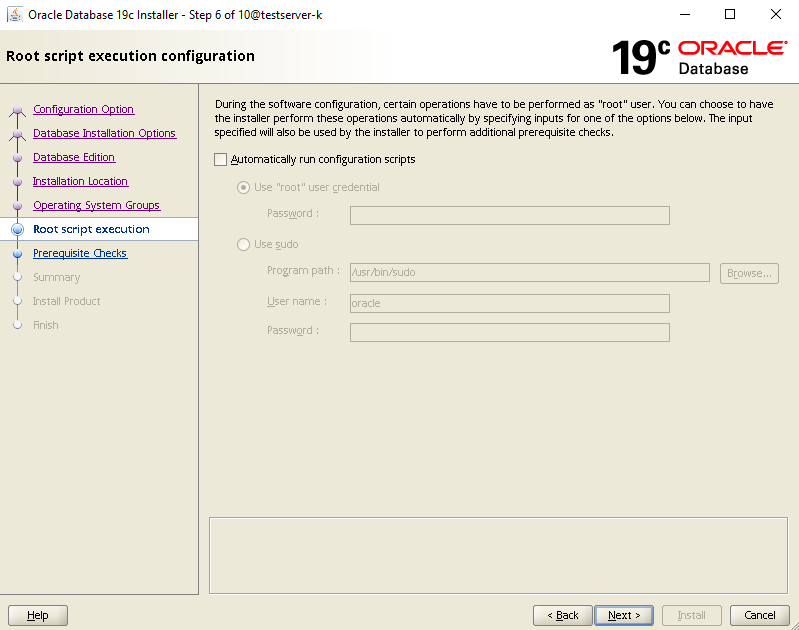
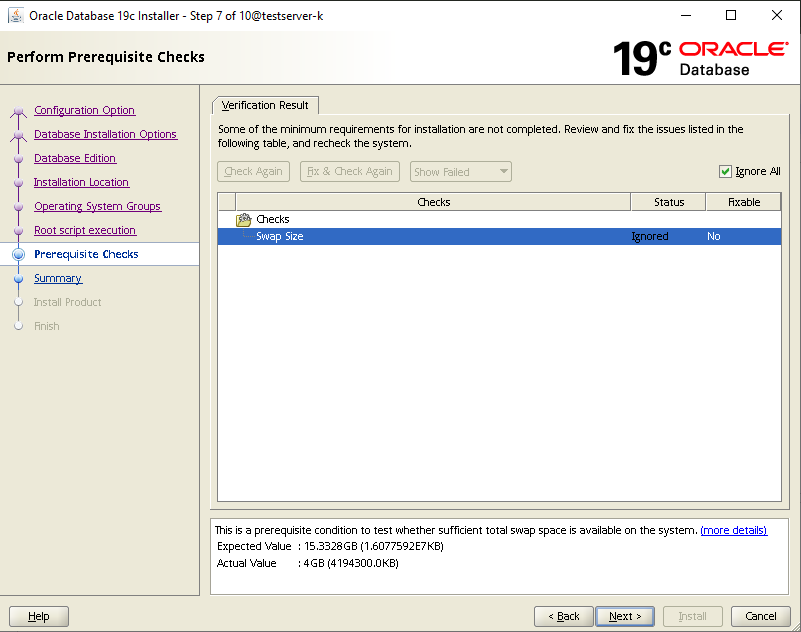
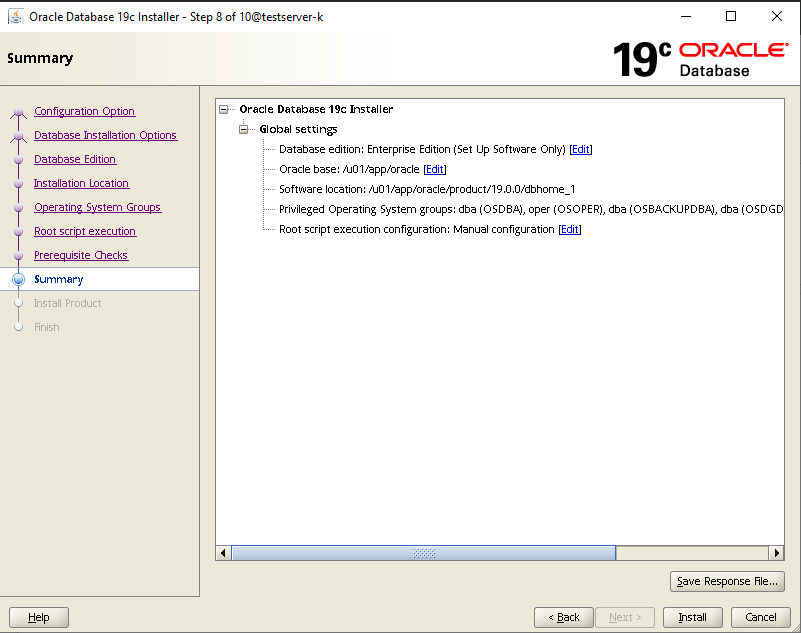
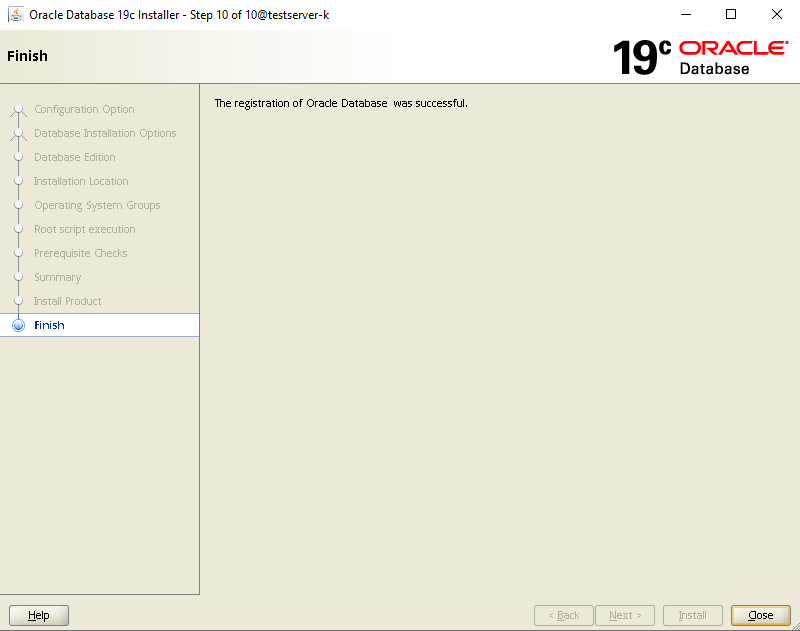
Step 12 - Run the installer
[oracle@testserver-k dbhome_1]$ ./runInstaller
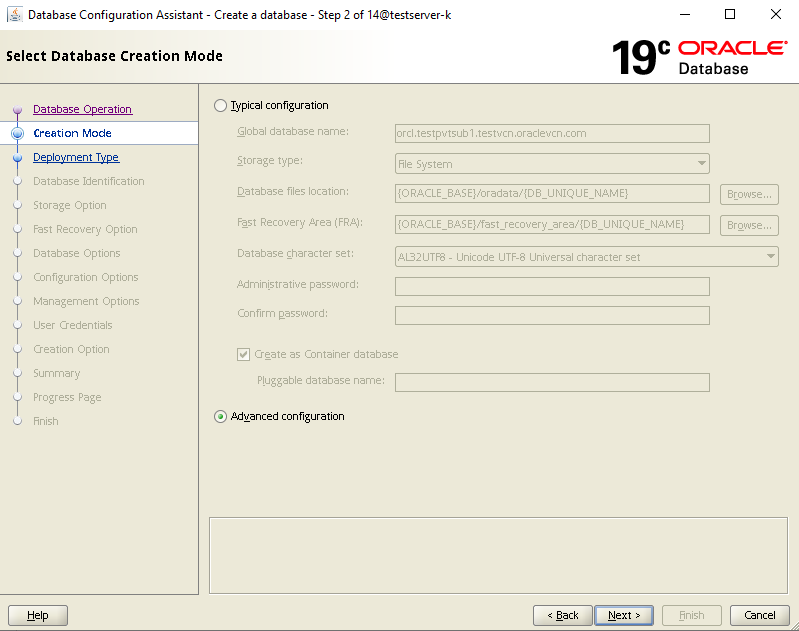
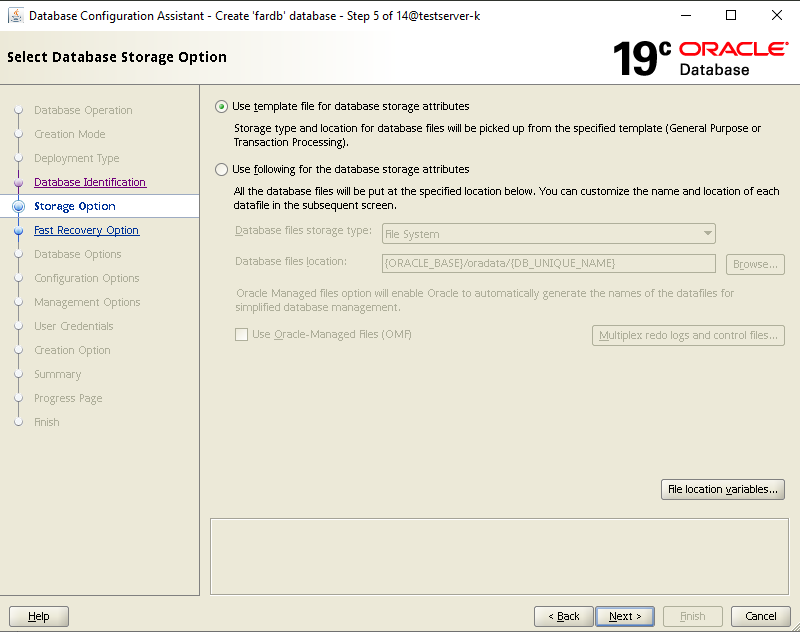
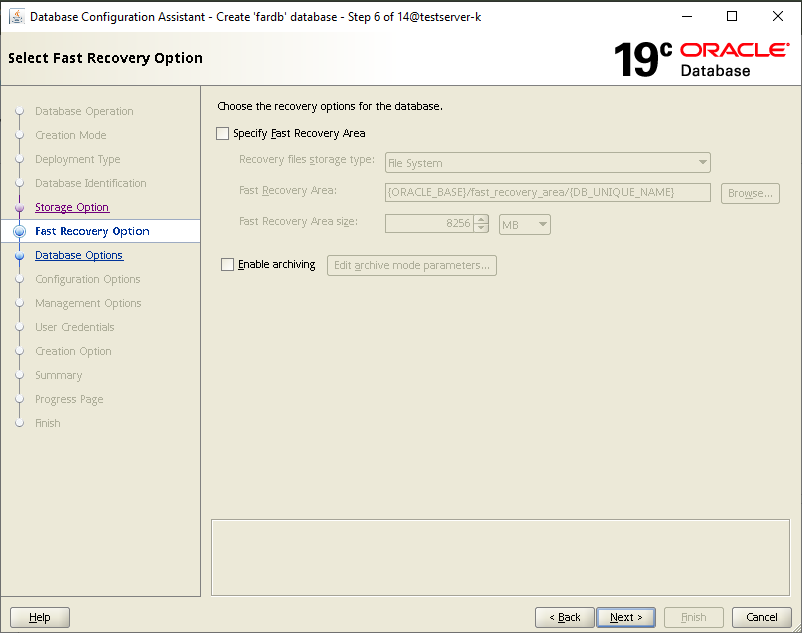
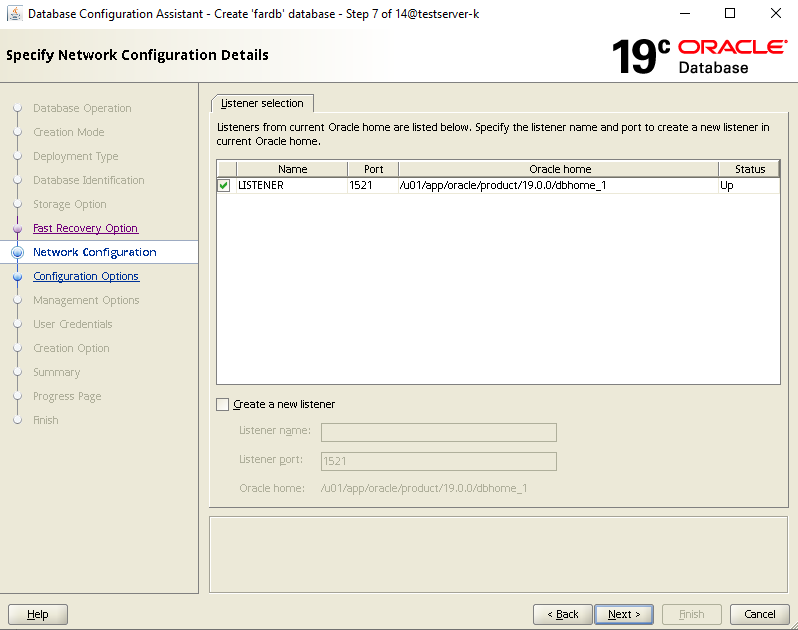
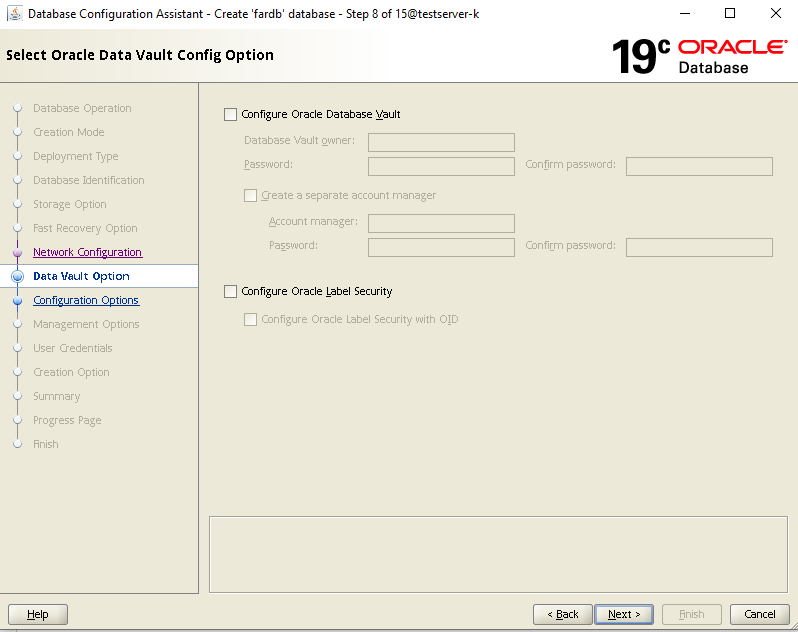
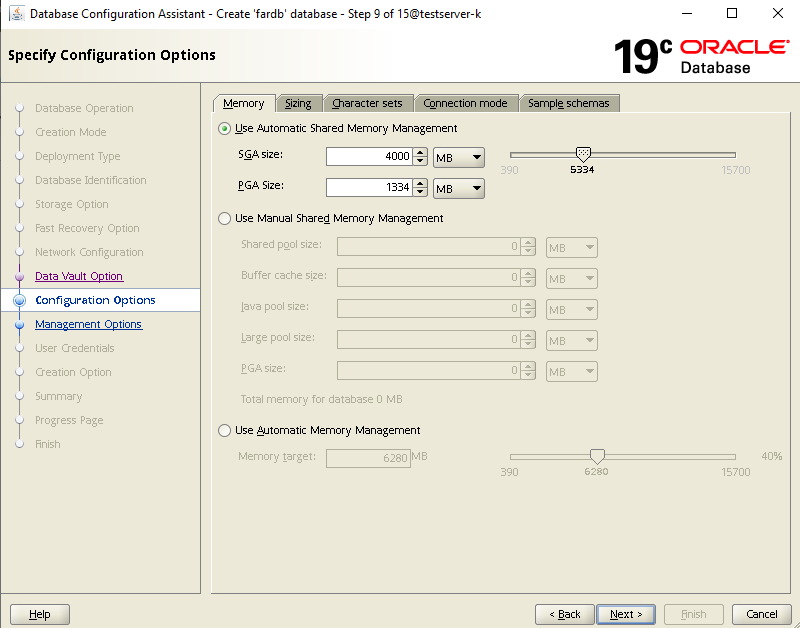
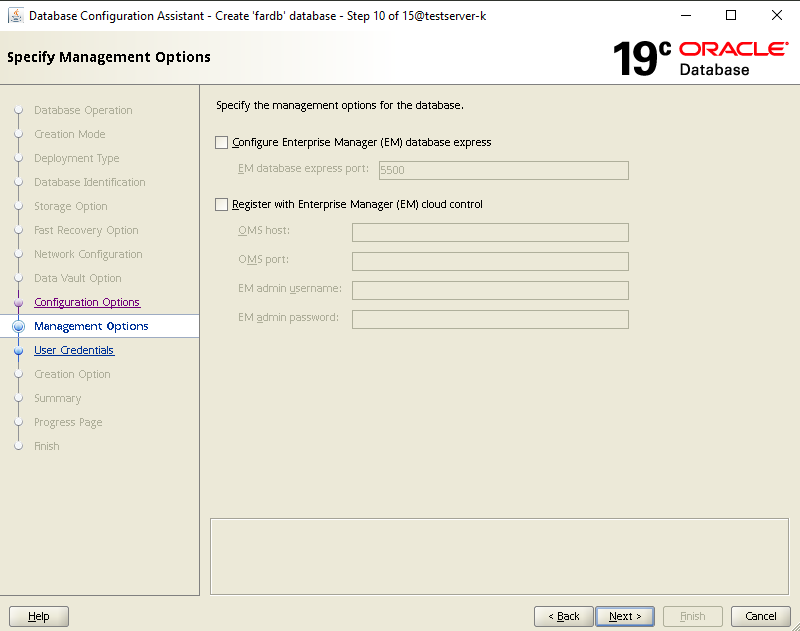
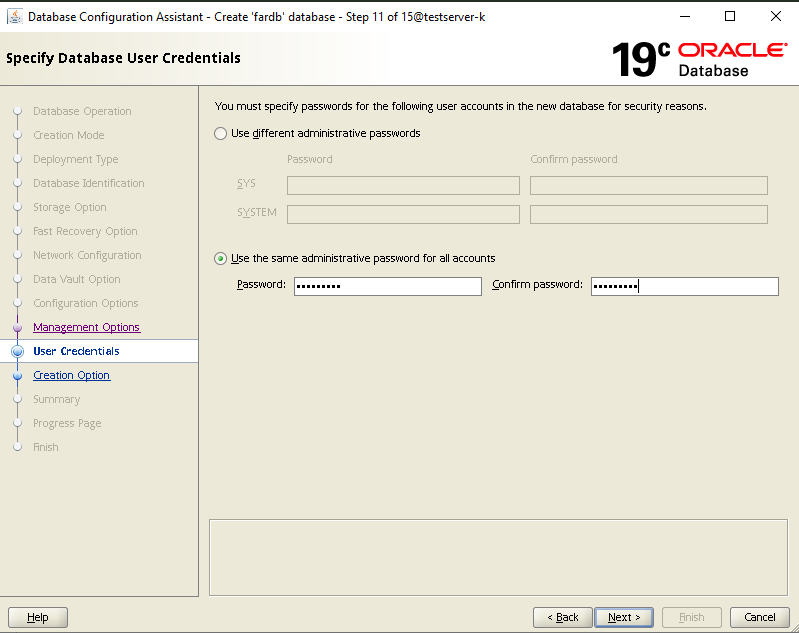
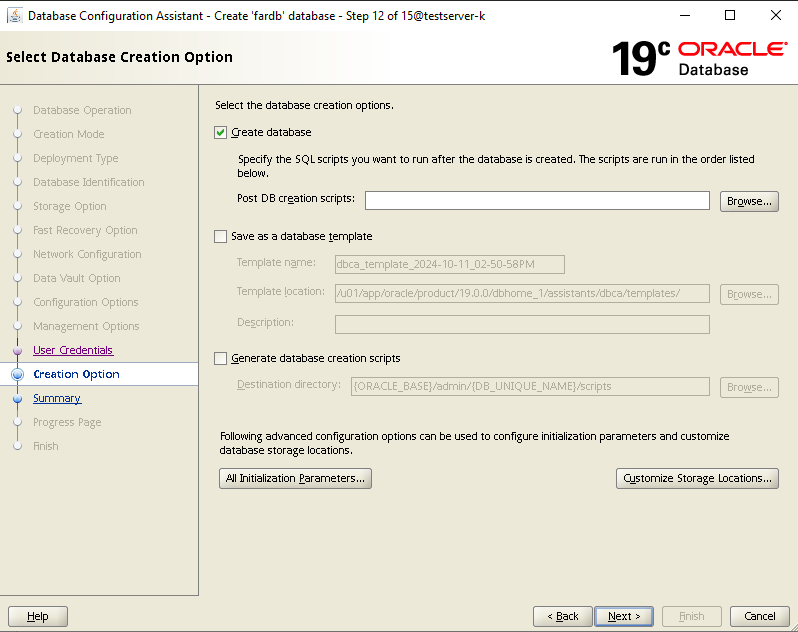
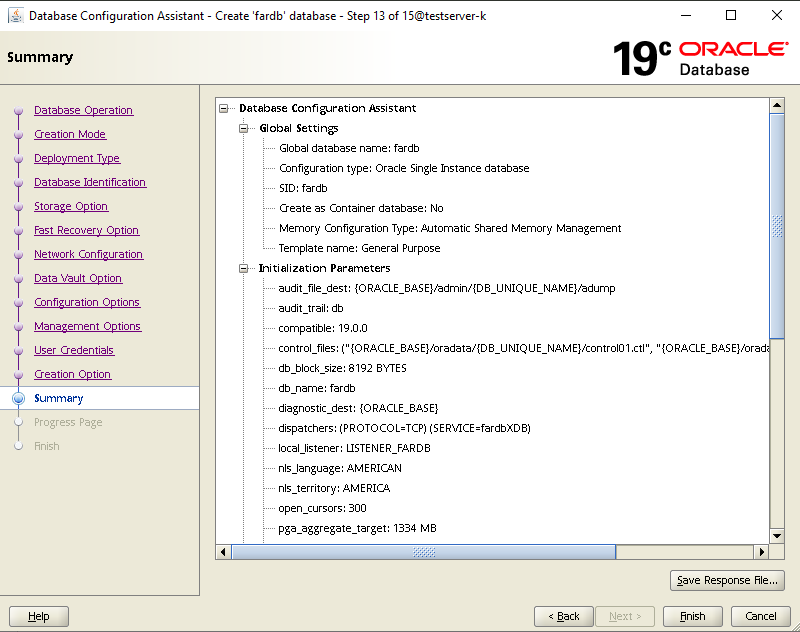
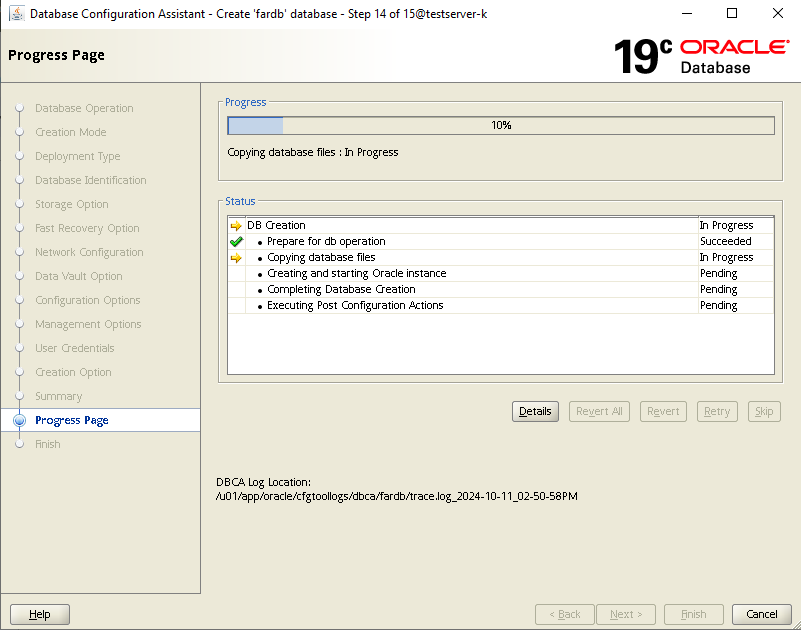
Step 13 - Run the Database Creation Administrator (DBCA)
[oracle@testserver-k dbhome_1]$ cd /u01/app/oracle/product/19.0.0/dbhome_1/bin
[oracle@testserver-k bin]$ ./dbca
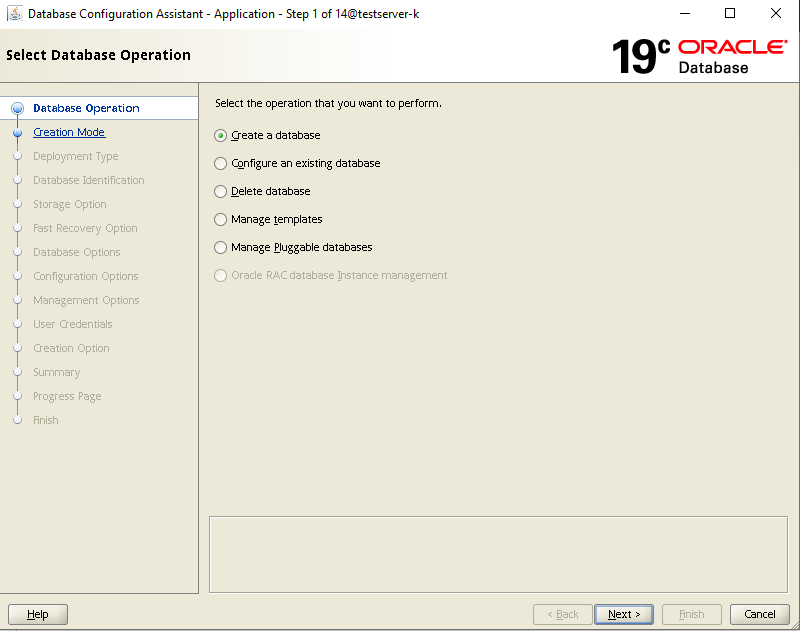
(It's perfectly fine to do a typical configuration rather than the advanced configuration)


Step 14 - Set the database environment and start the listener
[oracle@testserver-k bin]$ . oraenv
ORACLE_SID = [oracle] ? fardb
The Oracle base remains unchanged with value /u01/app/oracle
[oracle@testserver-k bin]$ lsnrctl start
Step 15 - Connect to the database and test
[oracle@testserver-k ~]$ sqlplus / as sysdba
SQL*Plus: Release 19.0.0.0.0 - Production on Fri Jun 27 05:46:48 2025
Version 19.3.0.0.0
Copyright (c) 1982, 2019, Oracle. All rights reserved.
Connected to:
Oracle Database 19c Enterprise Edition Release 19.0.0.0.0 - Production
Version 19.3.0.0.0
SQL>


Comments
Post a Comment